7. Lesson 9 and Lesson 10
7.1. Introduction
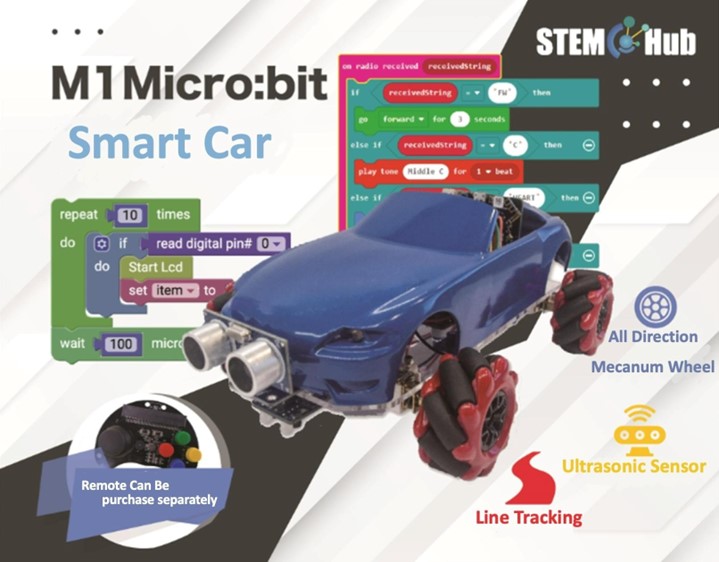
Welcome to the Micro: bit Smart Car Tutorial!In this course, we will explore the Micro: bit and learn how to control the Micro: bit car in programming.
7.2. Teaching Objectives
Let student master the cooperation and driving between Micro: bit Smart Car and controller and understand how the controller and car can communicate through radio waves.
7.3. Controller
Introduction of Micro: bit controller:
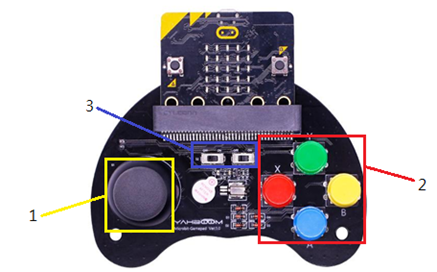
This controller can only be able to use with Micro: bit. The controller has multiple functions, including a joystick, 4 programmable buttons, a buzzer, and a vibration motor.
1) The joystick has a detection function of up, down, left, and right, and can also be pressed as another button.
2) The 4 buttons with different colors are red X, green Y, blue A, and yellow B. They correspond to the p13, p14, p15, and p16 pin respectively.
3) The buzzer and the vibration motor have a switch connection, they will be connected to p0 when the switch is on the left, and when the switch is on the right, each time we press the 4 programmable buttons will make the buzzer sound and vibrate.
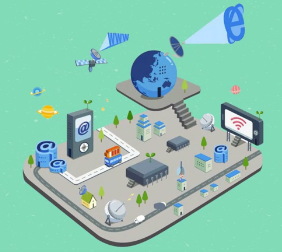
7.4. Radio and our daily life
Radio communication is a communication method that uses electromagnetic signals instead of wires, optical fibers, and other media to transmit information across space. Nowadays, wireless communications are commonly used in smart phones, Wi-Fi, and even satellites to transmit data via radio waves.
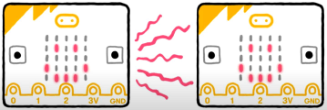
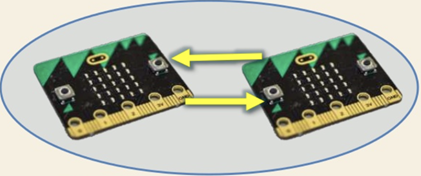
The principle of micro: bit radio communication is based on radio waves. The micro: bit has an antenna on the back for data transmission between two micro: bit boards
7.5. Radio programming module
Download the controller expansion pack:
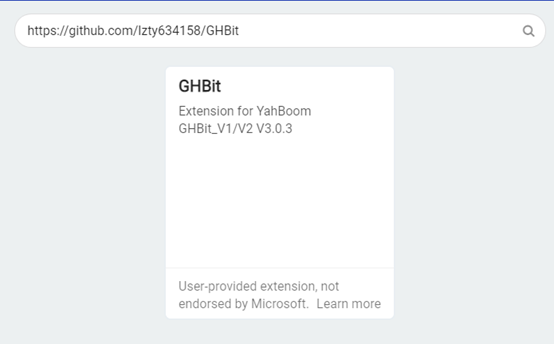
1) Enter the following link into the yellow box https://github.com/lzty634158/GHBit
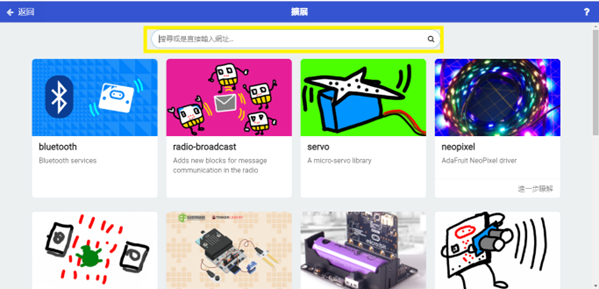
2) Add GHBit to makecode
If you want to use the controller to control the trolley, you need to install a Micro: bit on each of the controller and the trolley and load their respective programs.
The controller and the car use radio waves for communication, so two Micro: bit need to establish a radio connection.
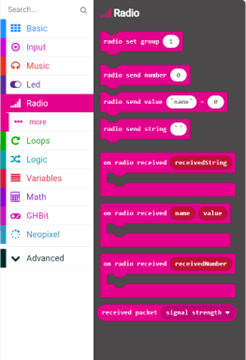
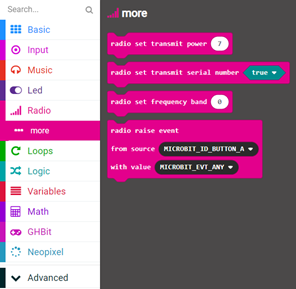
setting up a wireless communication module: (in the radio category)
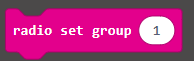
To set the radio group, enter a number (0~255) in the yellow box
Set the strength of the radio (1-7)
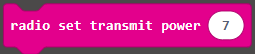
(In an open area and there are not many computers nearby, the broadcast area can reach up to 70m)
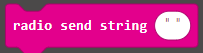
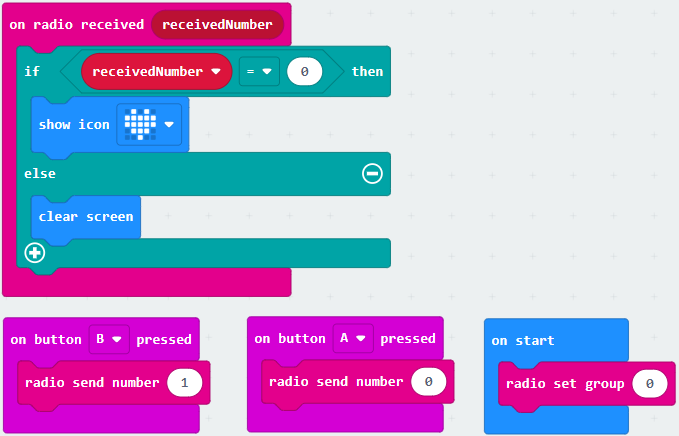
radio transmit string signal
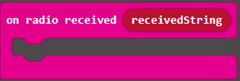
When string received, do{...}
(Upon receiving the string signal, the program in the building block will only start when the string signal is received)
7.6. Program module for controller and the car
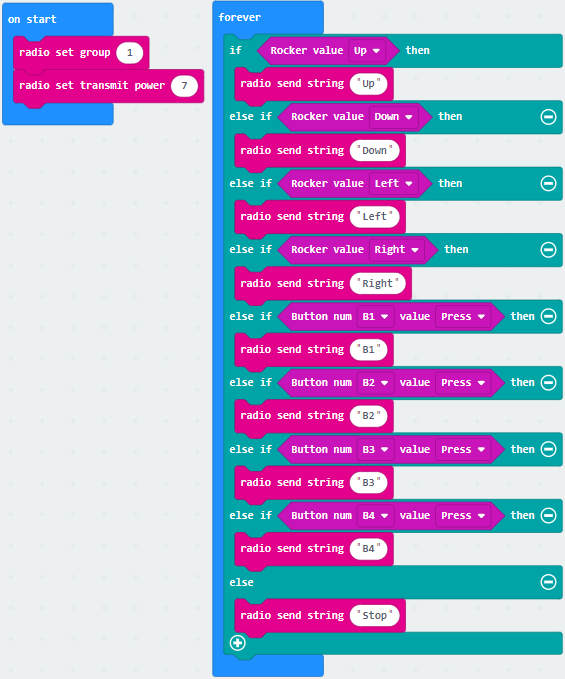
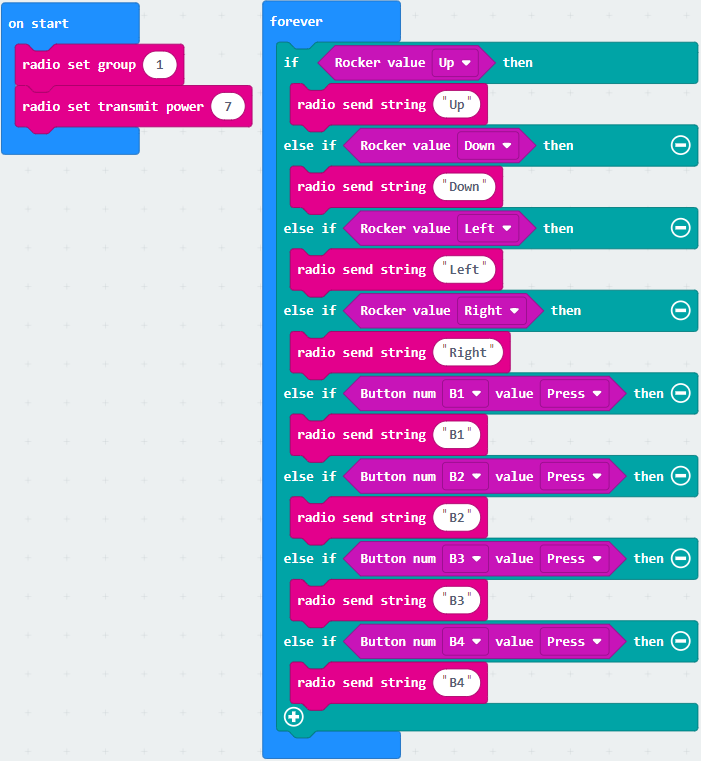
Block for controller:

Joystick blocks, select the joystick up, down, left, right and press actions in the yellow box.

The blocks for buttons, select the buttons B1~B4 in the yellow box, and select the action of pressing or releasing the button in the blue box
(Because radio waves have no directivity, different pair of cars and controller need to set up a separate set of radios to avoid interference)
7.6.1. Programming for controller:(GHBit)
(Joystick)
The red box is for the joystick, and the yellow box is for the button
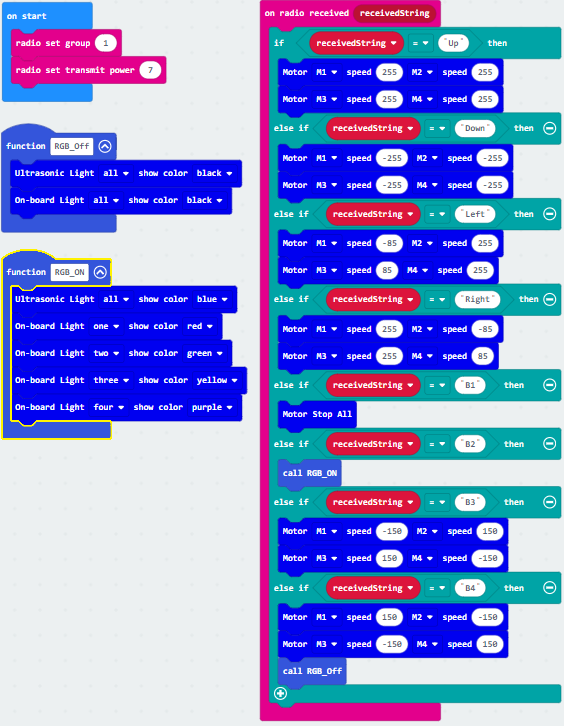
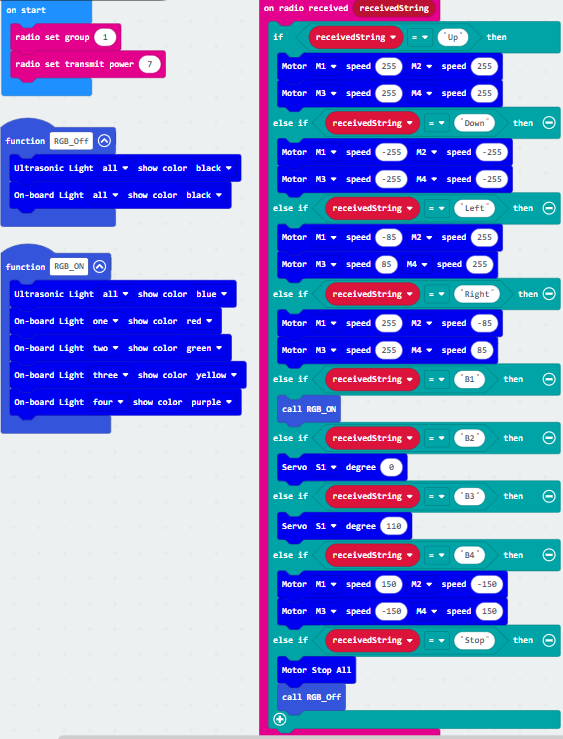
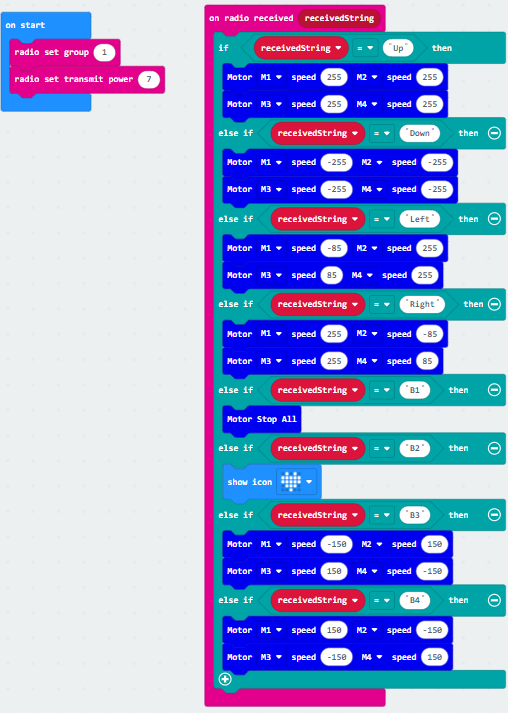
Programming for the car:
The red box is for the joystick, the yellow box is for the button
B1: stop moving
B2: Display a heart shape
B3: The car moves toward left
B4: The car move toward right
7.7. Exercise 1
Try adding a function to one of the buttons to make the LED lights on the expansion board lights up and emit different colors.
Hint 1: Change the program of the car, the controller program does not need to be changed
Hint 2: Use functions
7.8. Exercise 2
Try changing the answer of exercise 1, cancel the function of the "B1" button, and let it automatically pause the car
Hint: use ‘... else’